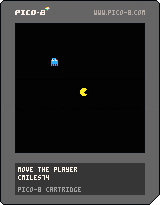
PICO-8 Animation and Collision Detection
In my last article we spent some time getting our game shelled out, throwing a sprite for the player on the screen and moving it around a bit. What would really snazz that up, I think, would be a little animation of the player and ending the game if the player hits a hazard of some kind.
In this article we’ll add some animation to snazz up our player, introduce a hazard and then add some collision detection so that we can end the game if the player happens to smack into the hazard. Not a challenging game but it does have a beginning, middle and an end!
Animating the Player
What we would like is for the player to animate while it is moving around the screen. We’d like one set of animations while it’s moving along the “x” axis and another set while it moves along the “y” axis. To keep things simple we will only have two frames for each animation.
To make this work we’re going to setup the simplest possible animation system. We’ll have one variable that keeps track of each “tick” of the game (each cycle through our game loop); every time we complete a game loop we’ll increment the tick counter. When we reach 16 ticks we’ll start back at 0 and start all over again.
This simple system will give us 16 possible frames of animation, one per game loop cycle. That’s more than we need and it gives us a little room to grow if we decide to get clever.
Create Our Tick Counter
We’re going to build on the code from the previous article, either catch up by reading through it or just copy the relevant code out so that we’re all on the same page.
Let’s start by adding two variables to our init_actors function: one for the current tick and one for our maximum number of ticks. The code below will get this done.
function init_actors()
  atk=0 atx=15
  ply1={x=8,y=8,spr=0}
end
The atk variable stands for “animation tick” and starts off at zero. The atx variable stores our maximum number of ticks and we set it to fifteen, giving us sixteen ticks in total.
Next we need to increment and reset our tick counter. Let’s add a function to manage our animation counters.
function update_anim()
  atk+=1
  if atk>atx then
    atk=0
  end
end
Simple, right? We update our tick counter and if we hit our maximum number of ticks then we reset it back to zero.
Creating More Player Sprites
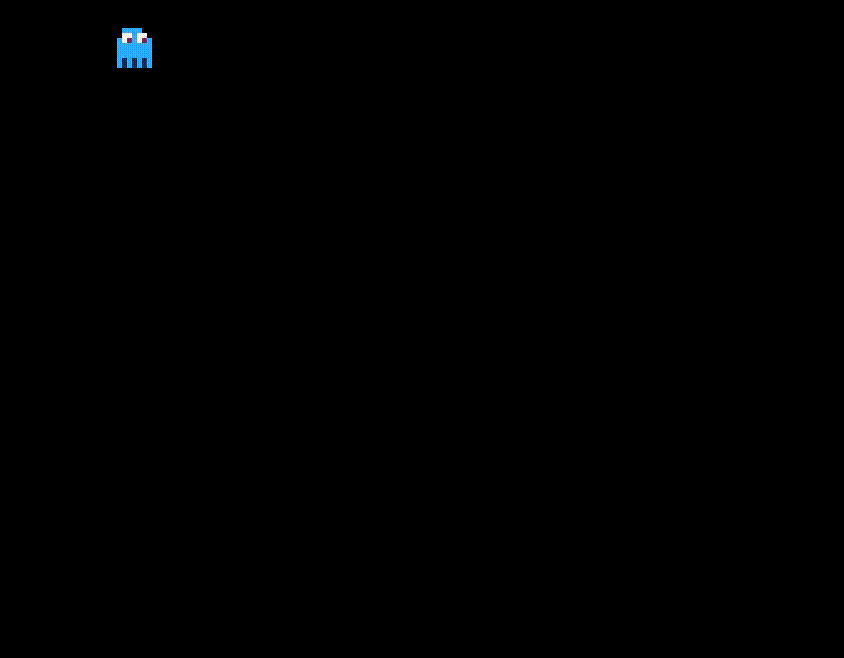
Next we need more sprites for our player, we want two to indicate movement horizontally and two more for vertical animation. Use the first four cells of sprites. You may also copy your sprite with the dotted square looking tool and paste it into the next cell to save time.
![]()
I’ve altered my sprites to change the direction the player is looking, I also change the fringe at the bottom of the ghost to give the impression of movement. The idea here is that the changes between the sprites don’t necessarily need to be dramatic to provide the illusion of motion.
Now we can associate our new sprites with our player. After thinking it over a bit, I decided to add two arrays to the player data: one with the horizontal frames and another with the vertical. Doing it this way, we could have different animations for the various characters in the game.
Update the init_actors() function to match the excerpt below.
function init_actors()
  atk=0 atx=15
  ply1={x=8,y=8,spr=0,
    alr={0,1},aud={2,3}}
end
We’ve added two more variables to the ply1 table, alr and aud. Both of these contain an array with the index of the sprites that make up the animation. The alr variable (animation left/right) references the first two sprites (0 and 1). The aud (animation up/down) variable points to the third and fourth sprites (2 and 3).
We are now tracking the animation frames (ticks) and we have references to the sprites we want to use for the animation. The only bit remaining is swapping the sprites for the player as it moves around, we’ll do this by manipulating the ply1.spr variable that indicates which sprite to draw for the player.
Swapping the Player’s Sprite
Since we need to know which button the player is pressing to figure out which direction to move the player, we can save a little time by weaving our animation code into our button detection and movement code. We check if the left or right, or if the up or down buttons are being pressed, then we update the player’s position and alternate the player’s sprite.
function update_ply1()
  if btn(0) or btn(1) then
    if atk > 8 then
      ply1.spr=ply1.alr[1]
    else
      ply1.spr=ply1.alr[2]
    end

    if btn(0) then
      ply1.x -= 2
    end
    if btn(1) then
      ply1.x += 2
    end
  end

  if btn(2) or btn(3) then
    if atk > 8 then
      ply1.spr=ply1.aud[1]
    else
      ply1.spr=ply1.aud[2]
    end

  		if btn(2) then
      ply1.y -= 2
    end
    if btn(3) then
      ply1.y += 2
    end
  end
end
One game cycle goes by too quickly to really be visible, instead we change the sprite of the player every eight ticks. If we’re on a tick less then eight then we draw the first sprite otherwise we draw the second. You can also see in the code above that we use the ply.alr sprites if buttons 0 or 1 are pressed (left or right) and we use the ply.aud sprites if buttons 2 or 3 (up or down) are pressed.
That’s it! Run the game and give it a try, you should see your player 8-bit-ly animated as you move it around the screen. 😎
Hazards and Collisions
Now that we have our animated player moving around the screen, the next thing we need to be able to do is detect collisions between our player and the various hazards of the game. For that we need at least one hazard!
Adding a Hazard
Switch over to the sprite editor and add one more sprite, this one will be the thing that ends the game if the player were to touch it. It could be a hole or a bomb or an alligator, whatever you’d like. With that done, let’s add our hazard to the game. Let’s update the init_actors function to track our hazard and if the game is over (the player has collided with the hazard).
function init_actors()
  atk=0 atx=15
  ply1={x=8,y=8,spr=0,
    alr={0,1},aud={2,3}}
  hzd={x=64,y=64,spr=4}
  over=false
end
The hzd table has the “x” and “y” positions of our hazard along with the index of the sprite used to draw it on-screen. The over variable lets us keep track of the status of the game, we start out with it not being over.
Our hazard also needs to be drawn on screen, add this function right after draw_ply1.
function draw_hzd()
  spr(hzd.spr,hzd.x,hzd.y)
end
Simple right? We just draw the hazard on the screen. Update the _draw function to call this one as well.
function _draw()
  cls()
  draw_ply1()
  draw_hzd()
end
Now we’ll draw the hazard every loop of the game, just like the player.
Detecting Collision
Detecting a collision is really checking the distance between the player and the hazard, if they intersect then there’s our collision.
function collision(a,b)
  return (abs(a.x-b.x)+
    abs(a.y-b.y)) <= 8
end
The abs function returns the “absolute value”, the positive or negative information is discarded. For instance, 0 - 8 = -8 but with abs we just get back 8. For our purposes we want the distance between the two sprites, we don’t really care if it’s a positive or negative number.
Once we calculate the “x” distance and the “y” we add them up and check to see if it’s less than or equal to the width or height of our sprites, which is eight. If they are eight pixels apart or less then they’ve collided.
We can add our collision logic way down to the end of our update_ply1 function. Go ahead and add the code below directly before the end of the function.
  if collision(ply1,hzd) then
    over=true
  end
We check to see if the player has collided with our hazard and, if they have, we set the over flag to “true”. This indicates the game has ended.
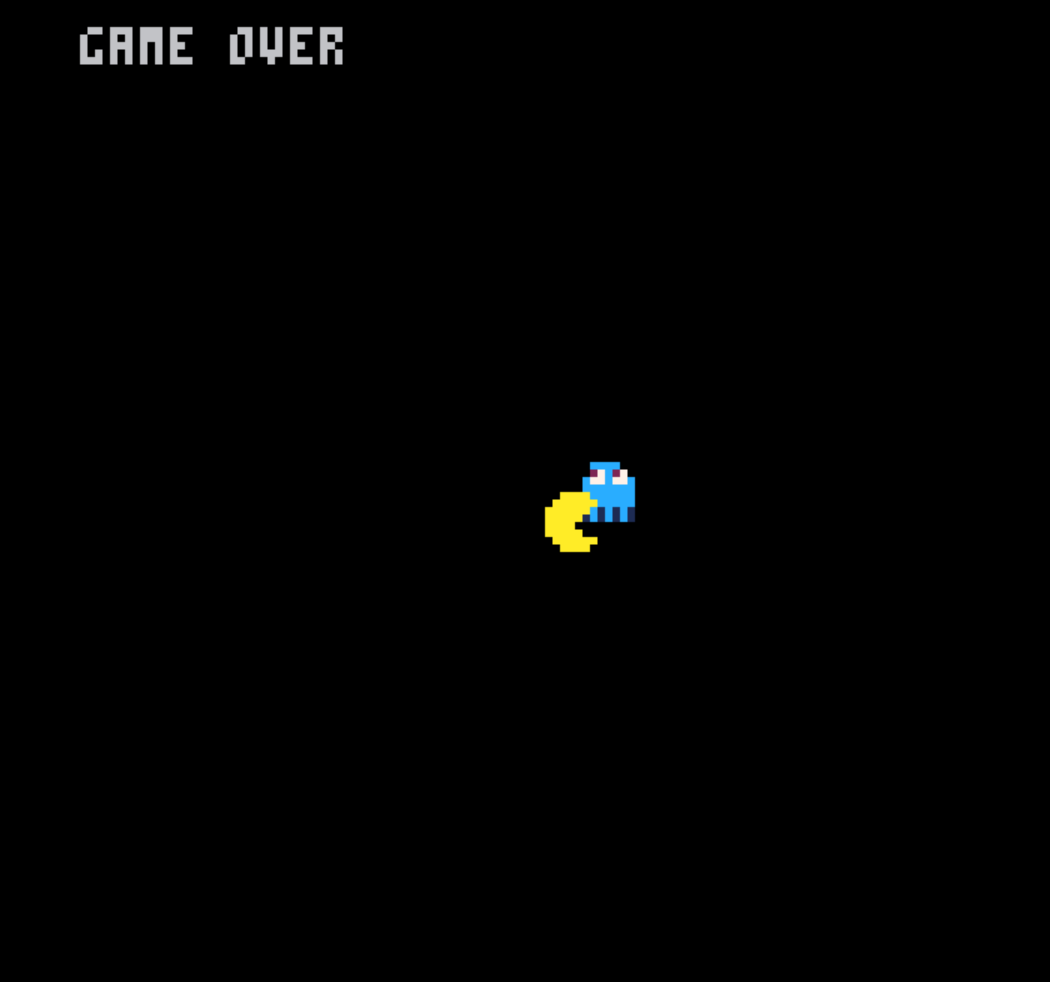
Ending the Game
Now we need to let the player know that the game has ended! Let’s add a new function (right after draw_hzd) that displays “Game Over” on the screen.
function draw_over()
  if over then
    print("game over", 2, 2)
  end
end
As advertised, it checks to see if the game is over and, if it is, we display the game over text in the upper left of the screen.
The only thing we’re missing is and end to the action when the game ends. Right now, the player could keep moving around. Add the snippet of code below to the very beginning of the update_ply1 function.
if over then return end
If the game is over, we won’t update the player’s state. They’ll be frozen wherever they were when they collided with the hazard.
Whew! We didn’t add much code but we’ve definitely added a lot of functionality! Our player animates as they move and we introduced a hazard into our game. We added some collision detection, ending the game if the player collides with the hazard.
This might be enough to get you going on your own game. 😉