Getting Started with PICO-8
Start developing a game with the PICO-8 fantasy game console
I’ve been interested in fantasy consoles for a long time now but my interest has been limited to reading a blog article here and there and thinking something like “Man, that looks like fun!” After literal years of doing other things I’ve finally decided to put my own 8-bit arcade game together. I took a look at the field, tried the Pixel Vision 8 and then saw the project archived, regrouped and decided to go with the PICO-8!
At first I started out working with the Pixel Vision 8 project but I found some bugs that were frustrating me and while I was working on fixing those bugs, I found some more bugs. While I was thinking about fixing those bugs the project was archived, there’s currently no maintainer. Becoming the maintainer of one of these projects is out-of-scope, I’m more interested in getting a game coded up, so I decided to pony up the $15.00 and purchase a PICO-8 license. I recommend you do the same, its not that much money and it helps keep the project active.
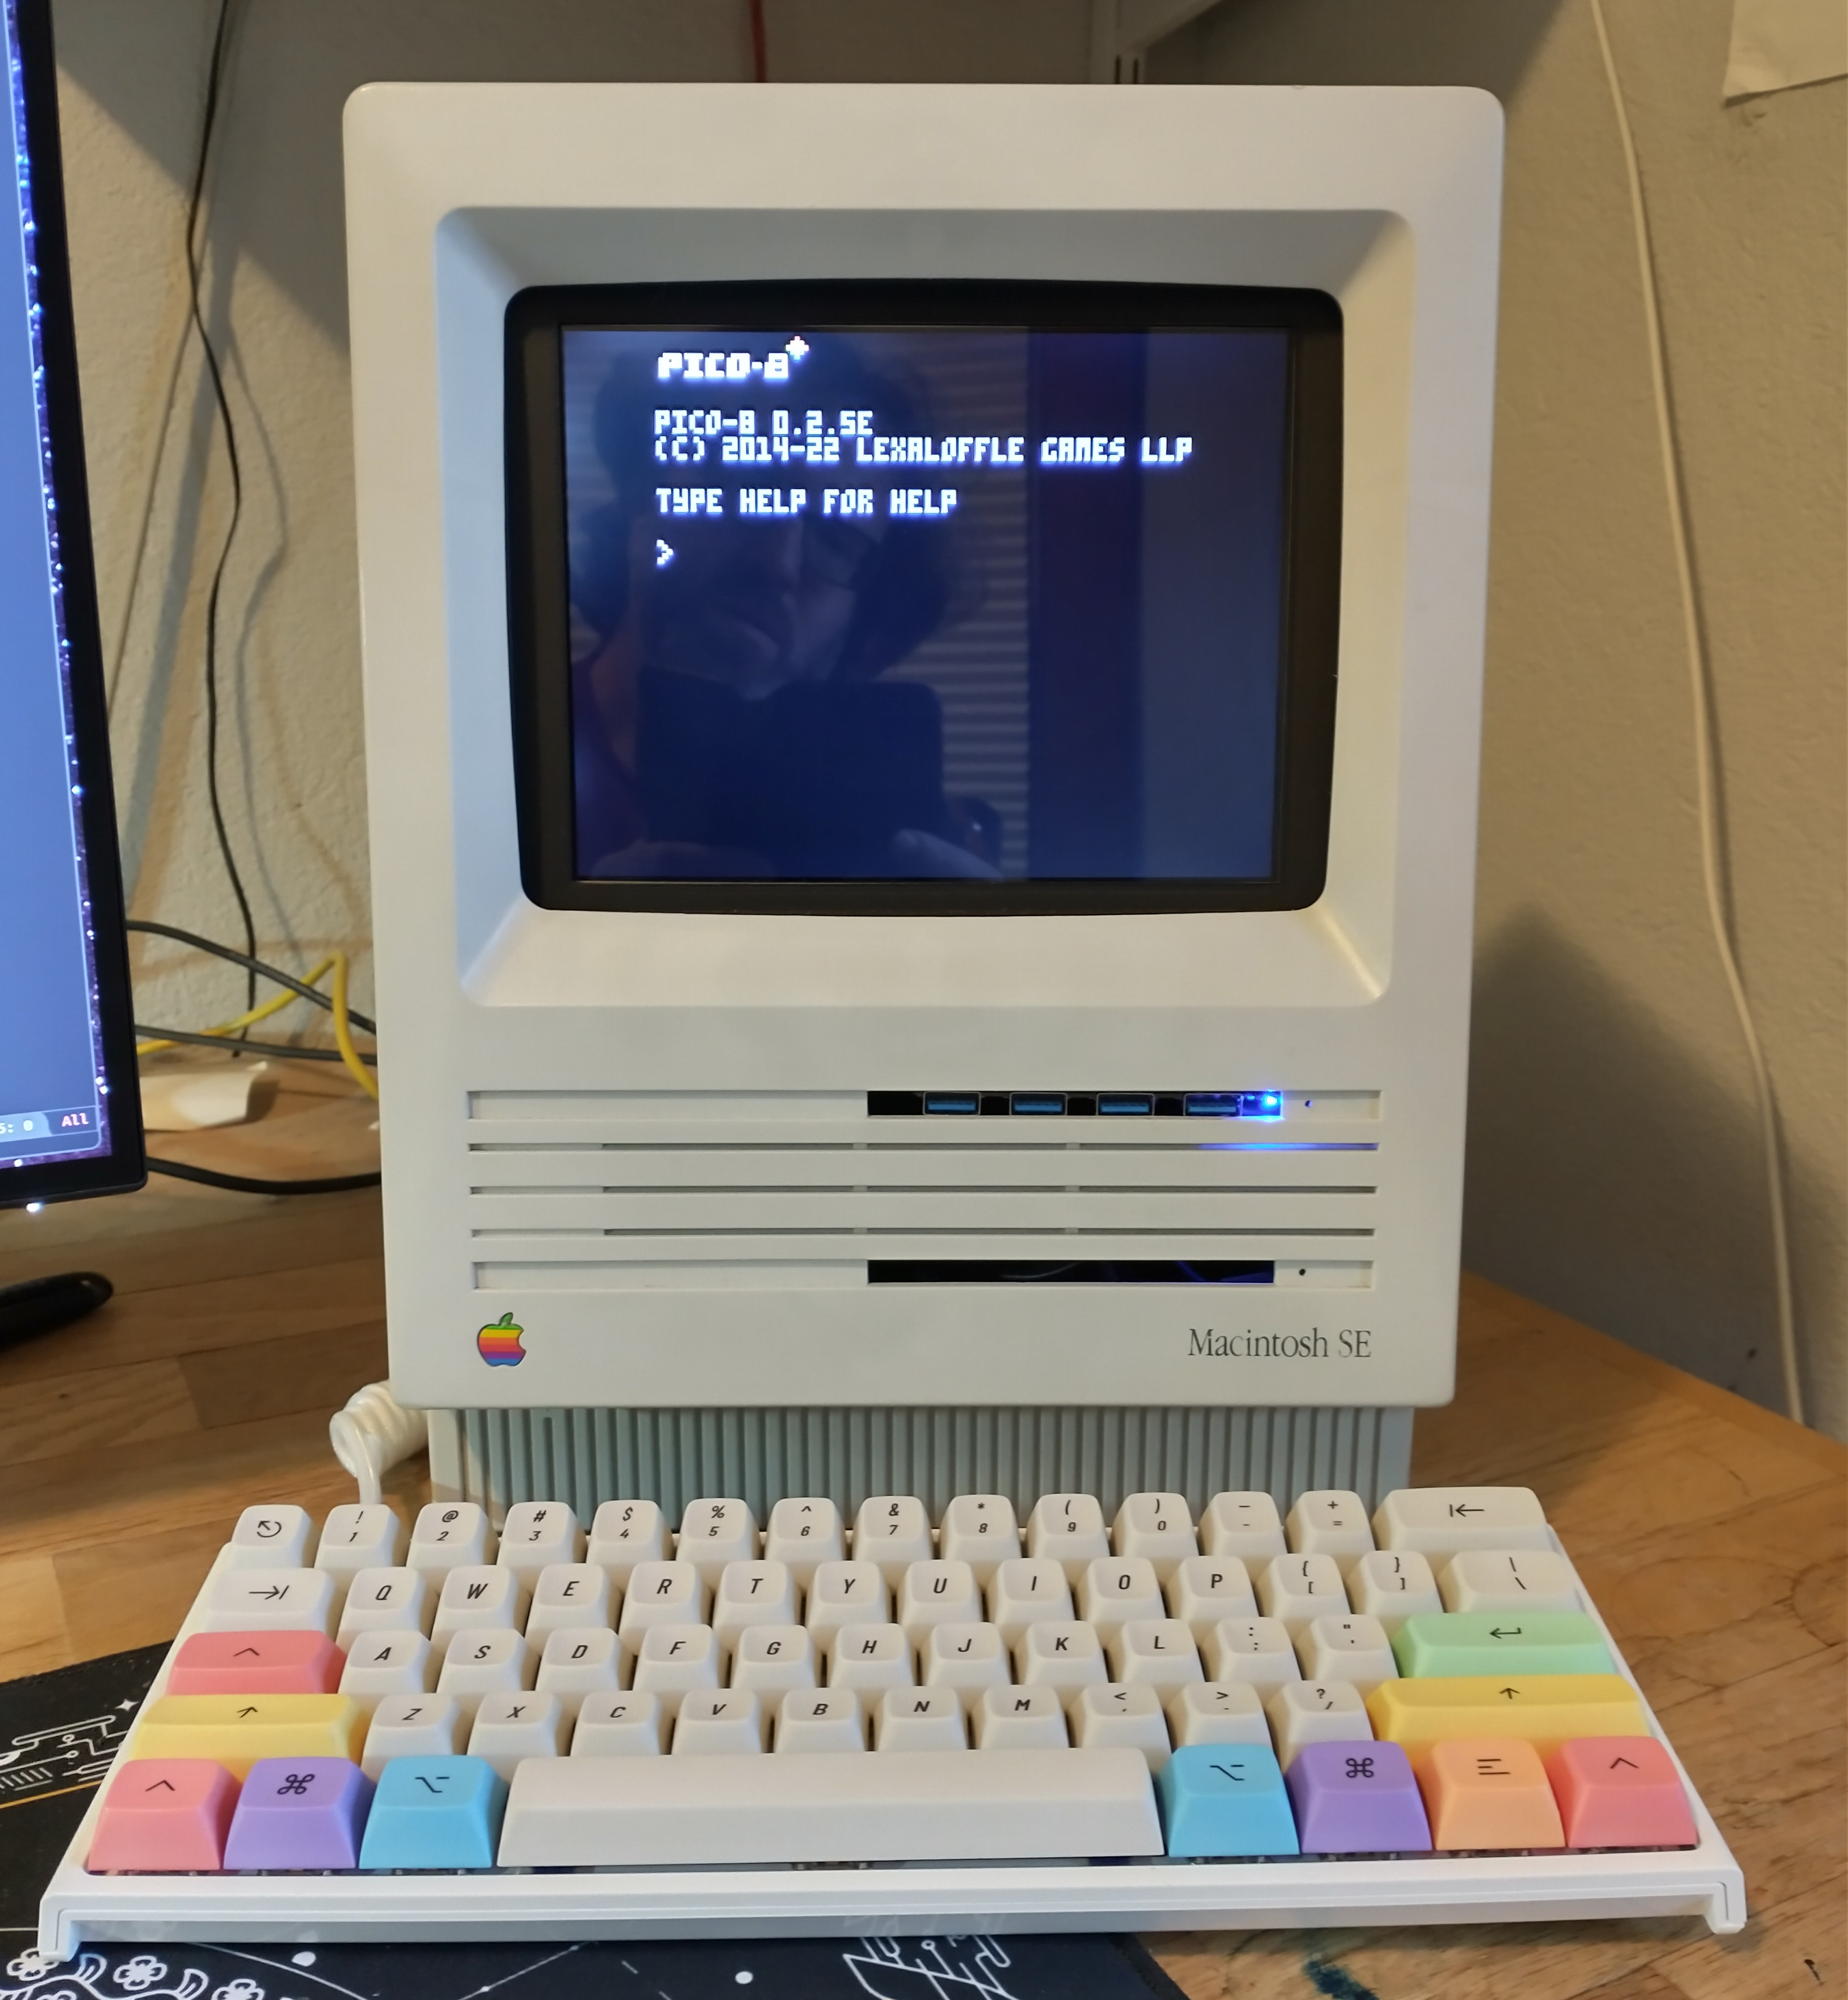
It’s a pretty nice product and reasonably polished. It has handy tools for writing code, drawing sprites and tile maps, and editing music. While you could use external tools and pull in files, it’s nice to be able to do everything in one place. Plus it looks pretty dang awesome on my snazzy retro looking PC.
This post will cover getting the PICO-8 application installed, drawing your first sprite and moving that sprite around on screen. My plan is to add more articles as I get the game built up. I’m warning you now that this could take a while, I have a day job as well. 😉
Install the PICO-8 Application
Check all of the pockets of your coats and look under the sofa cushions until you’ve found $15 and then head over to the PICO-8 page. Once you fill in your e-mail address and hand over your dollars, you’ll end up with a license through the Humble website. You can then download the distribution for your operating system (or a ZIP of the distribution if you’re on Linux).
For those of you on Windows or MacOS, there’s not much to the installation; double-click the Windows installer or copy over the MacOS application from the disk image. Those of us on Linux will have to put the distribution somewhere and either start from the command line or create a “desktop” file to launch the application… Unless you are on Arch Linux, there is an AUR package for PICO-8 that’s pretty easy to get working.
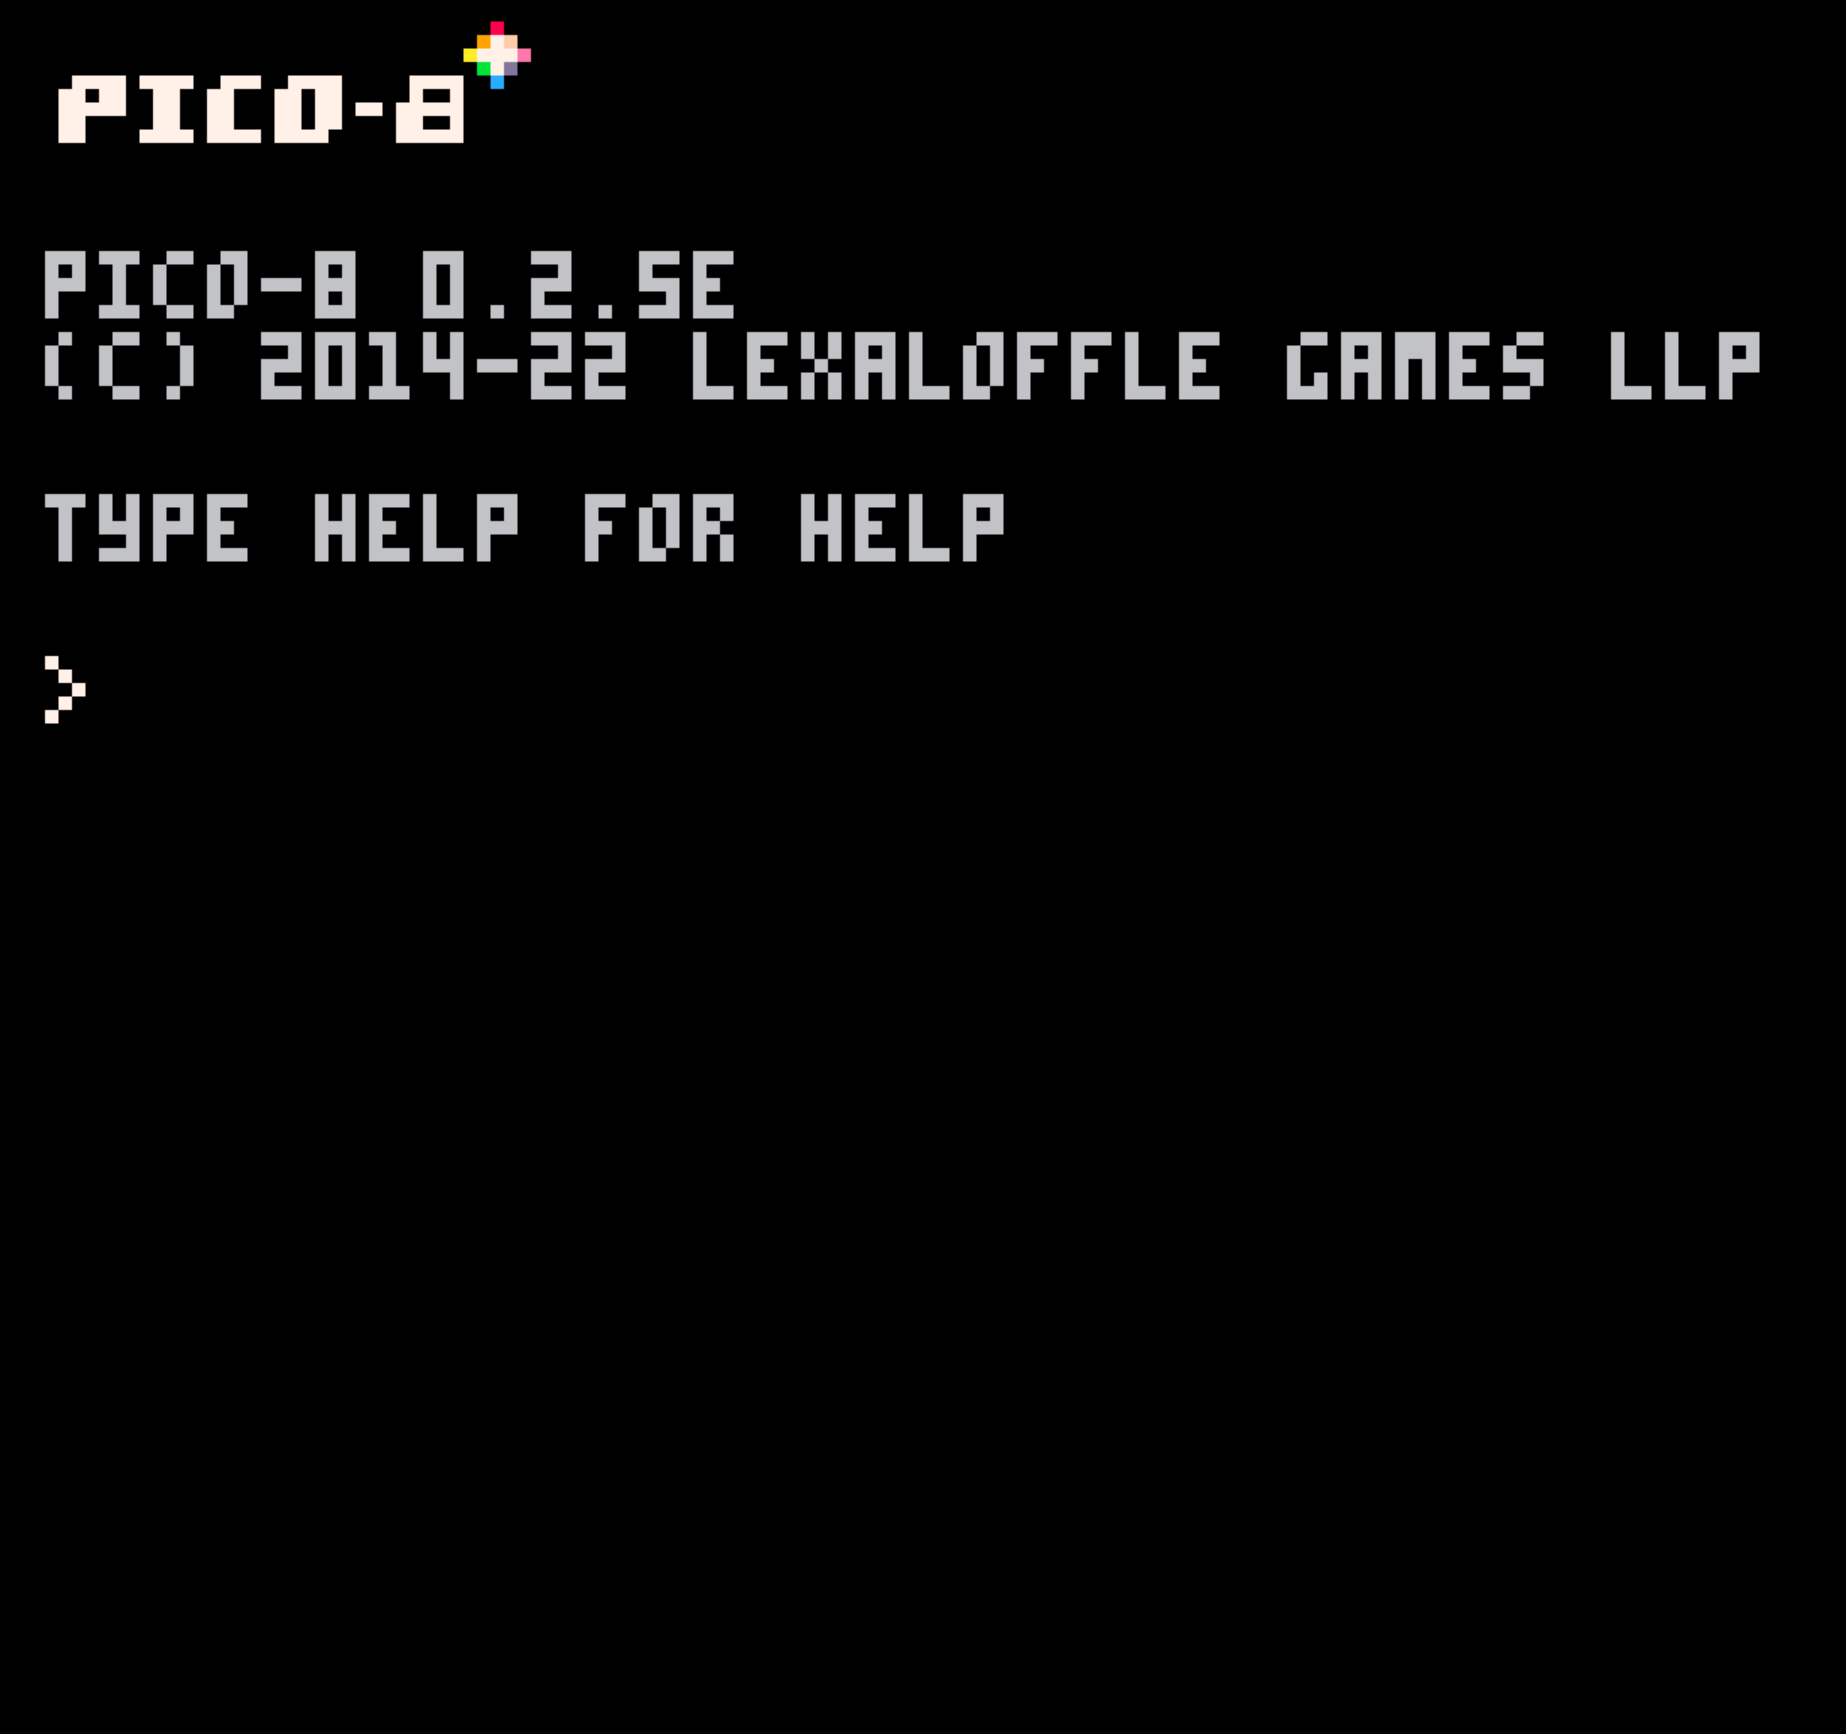
With all of that work out of the way, you are ready to get started! Launch the PICO-8 application and you will be greeted with the welcome screen.
They’re definitely going for the old 8-bit home computer vibe, this reminds me of the Atari 800 or Commodore 64 where you’d get dropped at a BASIC interpreter. This is a bit better as the PICO-8 speaks Lua which is quite a bit more fun to work with.
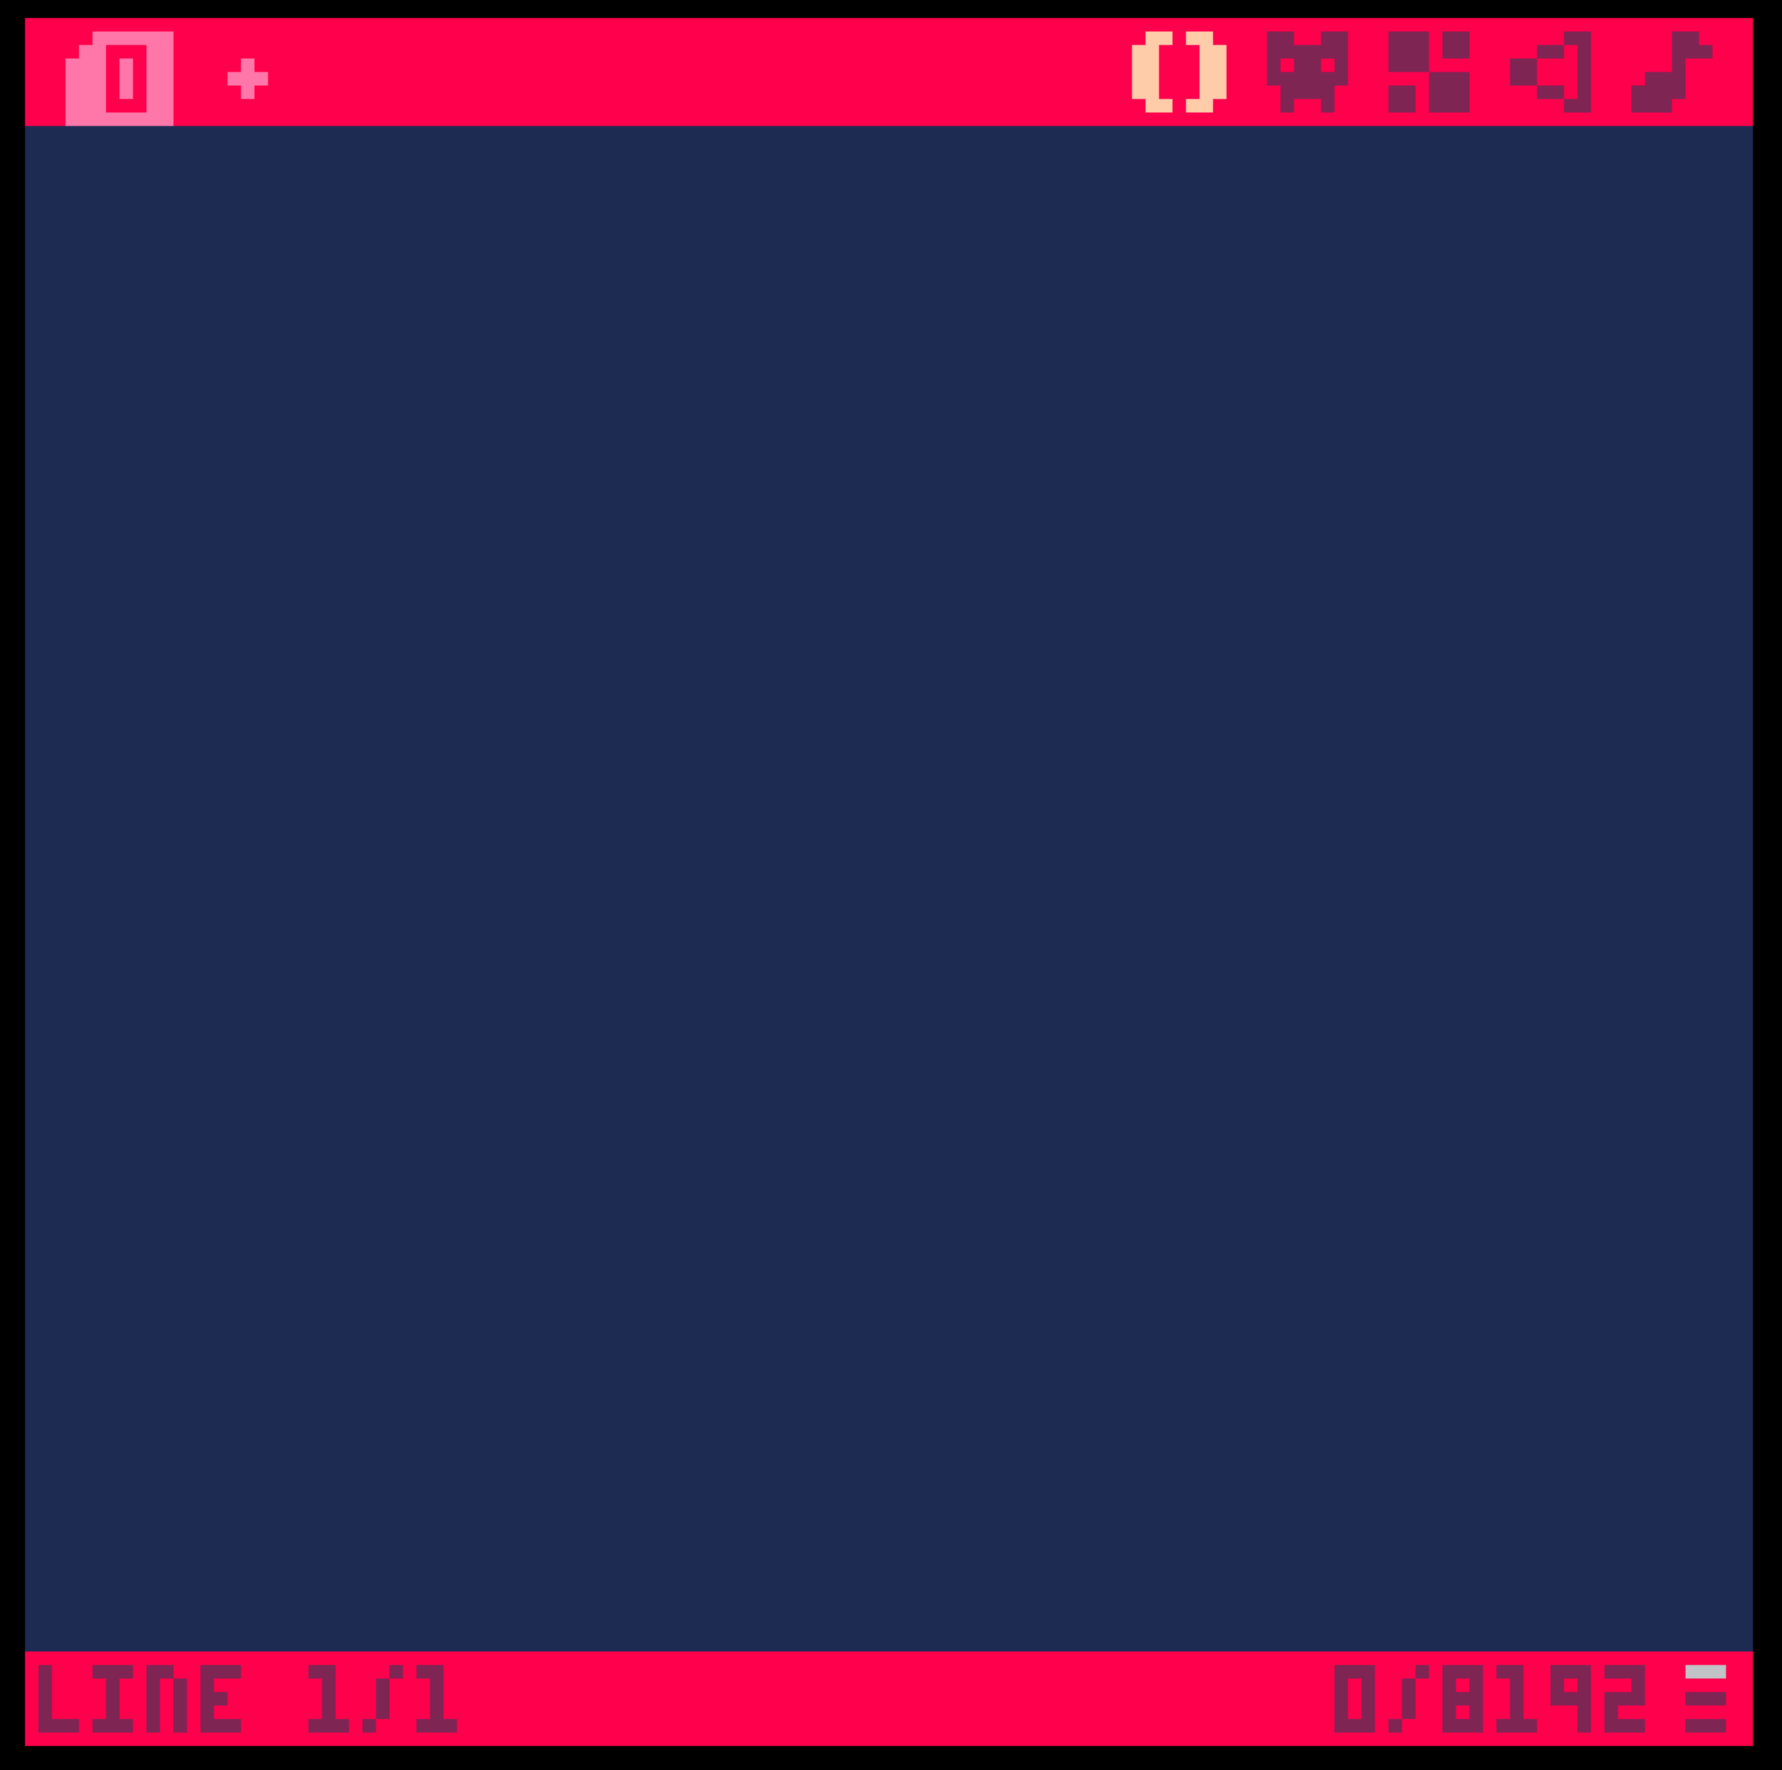
What you are looking at right now is the interactive console, press the “escape” key on your keyboard to switch over to “editor” mode. It should look like the image below.
The icons in the upper-right hand corner represent the different editors: code, sprite, map, sound effects and music; this image is of the code editor. More information about all of these tools and how they work can be found in the PICO-8 manual.
Draw a Sprite
For now, switch over the the sprite tool (the second one from the left). For those of you not in the know, a sprite is a bitmap graphic that can easily be moved around on screen or stacked on top of or below other bitmaps. We will use this sprite to represent the player.
Each sprite on the PICO-8 is 8x8 pixels in size, these sprites are displayed in rows beneath the sprite editor area. There’s one sprite there already, it kind of looks like a white star. Click on that sprite to bring it into focus and display it in the editor area.
The sprites don’t have names but they each have a number: the first one (the one you’re editing) is 0, the one to the right of that would be 1 and the one to the right of that is 2 and so on.
There are several tools to make editing your sprite easier, feel free to explore them. Go ahead and edit the sprite until you have something you are somewhat satisfied with, after all, you can always go back and make changes later. This sprite will represent the player in your game.
Displaying Your Sprite
The next step is to write enough code to get your sprite to display when your game is run.
The Game Loop
The PICO-8 lets you write your game code with Lua. It’s pretty concise and, in my opinion, pretty easy to pick up from scratch; don’t worry if you don’t know much about Lua. You can read up on the language later, this tutorial will give you enough knowledge just-in-time style to get by.
Make sure you are in “editing” mode, press the “escape” key if you are not. Pick the code editor from the set of icons in the upper-right, it’s the first one and kind of looks like two parenthesis “()”. You will be welcomed by an entirely empty page of code, go ahead and bang in the code listed below.
1
2
3
4
5
6
7
8
9
10
11
function _init()

end

function _update()

end

function _draw()

end
This won’t actually do anything but it does provide a short game that does nothing! Press the “escape” key to switch back to console mode and type “run” (the run function will start your game) at the prompt. You should receive no errors and see nothing at all happen. When you grow tired of all the nothing, press the “escape” key to stop your game from running.
These three functions are common to every game, they are called by the PICO-8 to perform the following…
- Setup your game
- Update the current state of your game (i.e. move the player, the bad guys, etc.)
- Draw the current state of the game on screen
While the setup function (“_init”) is only called once the other two are called over and over. When the “_update” function is called it can do things like see if any buttons are pressed and move the player to a new location. After that, the “_draw” function will be called to draw the current state of the game to the display. This is called “the game loop”, it’s a common pattern in a lot of different kinds of video games.
Draw the Player
While we could jam all of our code into those three functions, this style is frowned upon by sane people everywhere. Instead we’ll add some new functions to the top of our file and then call those functions where appropriate. First up is keeping track of the state of our player, add the following code to the top of your file.
1
2
3
function init_actors()
  ply1={x=8,y=8,spr=0}
end
This code creates a new variable named ply1 that keeps track of all the data about our player: their coordinates on screen (x and y) and the index of the sprite we’re using to represent them (spr). The data we’ve assigned to the player is called a “table”, it stores any number of keys and values and makes it easy to get at their values and update them.
Now we need to call our function to setuip our player along with the rest of the game. Edit your “_init” function to match the listing below.
1
2
3
function _init()
  init_actors()
end
Next up we want to draw the player. This will be pretty simple; we need to position the sprite in the player’s current location and then draw the sprite. Type in the code below right underneath your “initActors” function.
1
2
3
function draw_ply1()
  spr(ply1.spr,ply1.x,ply1.y)
end
The spr function is provided by the PICO-8’s sprite library, it handles all of the nitty-gritty of drawing the sprite to the display. It takes three arguments, conveniently all of the data it needs is available from our player data. We provide the name (numeric index) of our sprite, the coordinate on the “x” axis and then the coordinate of the player along the “y” axis. With that information in hand, our sprite will be drawn.
The last step is to update our “_draw” function to actually draw the player’s sprite. Edit your “_draw” function to look like the code listed below.
1
2
3
function _draw()
  draw_ply1()
end
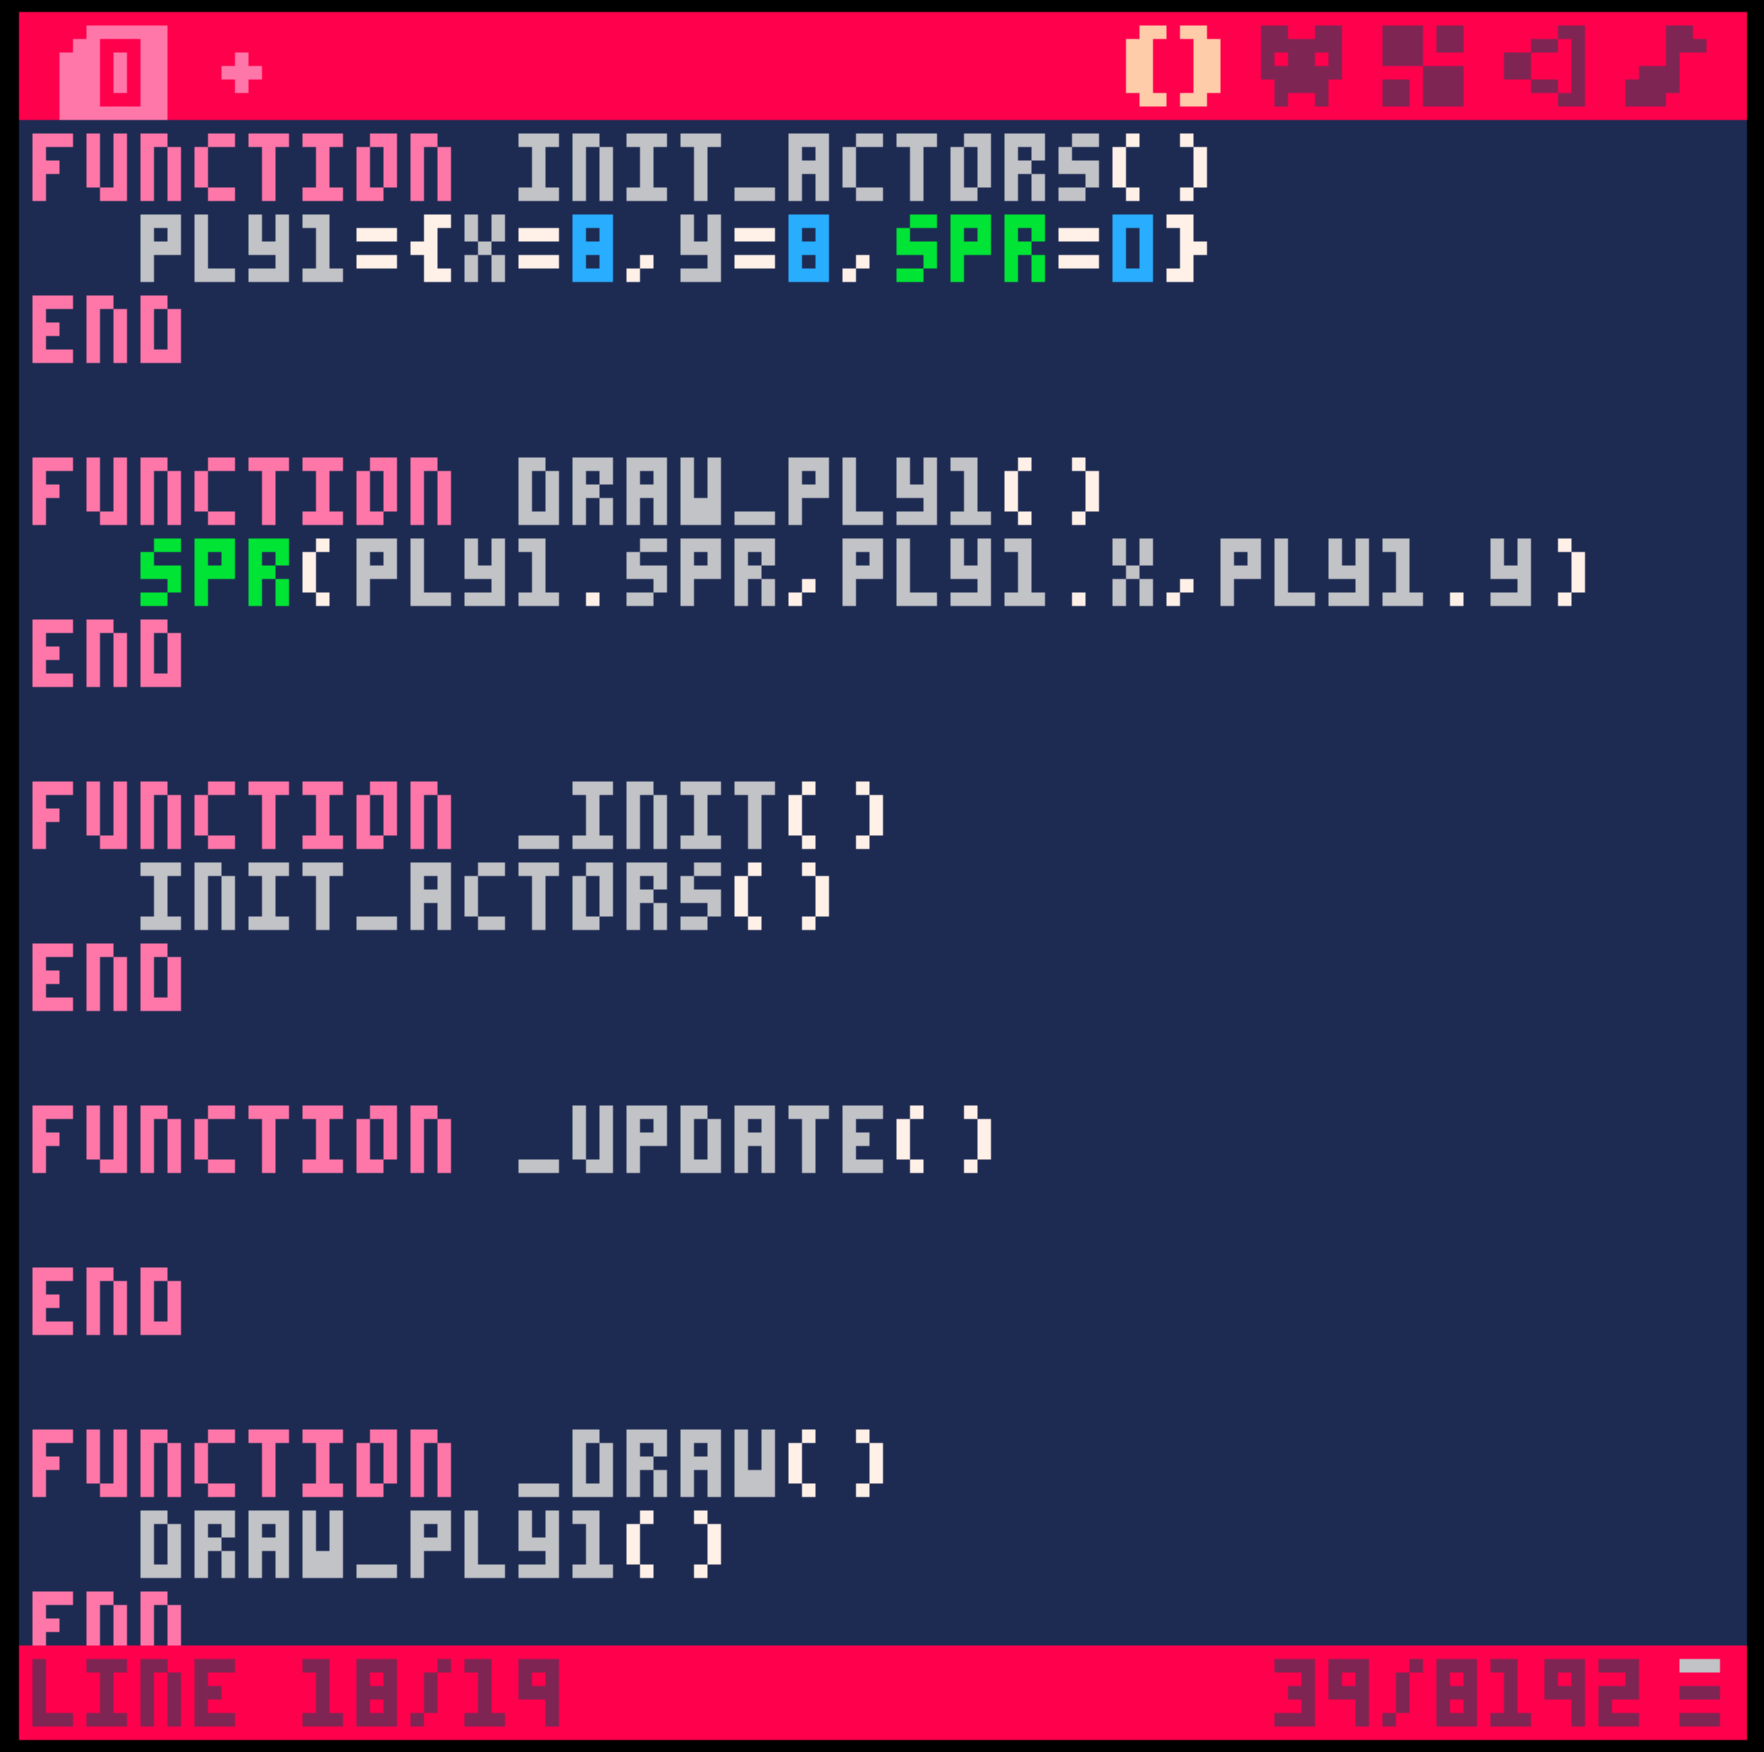
Your entire file of code should look something like this…
Go ahead and save the code file and run your game. You should see your sprite on the screen. 😎
Move the Player
The last step is to let the player move around by pressing the arrow keys on their keyboard. There’s only a little bit of logic to handle, we’ll add it to a new function named “update_ply1”.
1
2
3
4
5
6
7
8
9
10
11
12
13
14
function update_ply1()
  if btn(0) then
    ply1.x -= 2
  end
  if btn(1) then
    ply1.x += 2
  end
  if btn(2) then
    ply1.y -= 2
  end
  if btn(3) then
    ply1.y += 2
  end
end
The PICO-8 has a btn function is doing most of the work here. This function accepts the index of button type (player 0 up, player 0 down, etc.) and returns true if that button is being pressed. We then check each button we’re interested in and then (if it’s being pressed) we update the state of the player to match.
To make this work, add a call to this function to our “_update” function.
1
2
3
function _update()
  update_ply1()
end
Try it out! You’ll notice it doesn’t work exactly as expected. The problem is that we aren’t clearing the display before we draw the sprite in the next location. The cls function will clear the screen, if we add that right before we draw the items on screen, we’ll be all set.
1
2
3
4
function _draw
  cls()
  draw_ply1
end
Woot! If you are interested in going the extra mile, how would we change the “update_ply1” code to let the player appear on one side of the screen when they reach the other, like in Pac Man? What would we do if we wanted the boundaries of the display to act as a wall? What might we change to make the player move faster or slower? There are many variations even for simple games. 🤯
Build Your Game
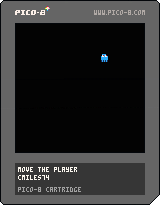
The last thing we’ll cover is building a “cartridge” that contains your game, this provides you one with one file that you can share with friends. You simply drag the cartridge file onto the PICO-8 (or executable) to load the game. With the PICO-8 we can also save the cartridge as an actual PNG image that you can view in an image viewer or web browser. It will have a screenshot as well as a little description of your game.
Switch to the code editor, we’re going to add a couple of lines to the top of your game’s code. We’ll add two comments; these won’t change how your game works but they will be used to describe your game and will be part of the cartridge. Two dashes in a row (“–”) start a comment, the comments are displayed at the bottom of your cartridge image. Add one comment with the name of your game and another with your name. Make sure these are the first two lines of code in the editor!
1
2
--move the player
--cmiles74
Next, switch back to the console and type “run” to run the game. Move the player around a little bit and then press the “control” key along with the “7” key (control-7). You should see the PICO-8 say “captured label image” down at the bottom of the screen. You’ve just taken the screenshot that will decorate your cartridge!
Now you can save your cartridge to disk. Type the following at the console to save your game.
save move-the-player.p8.png
At this point your game is built! You can switch to your operating system’s file browser so that you can navigate to your cartridge directory. This will vary based on your operating system.
| Operating System | Cartridge Path |
|---|---|
| MacOS | ~/Library/Application Support/pico-8/carts |
| Linux | ~/.lexaloffle/pico-8/carts |
| Windows | %AppData%/Roaming/pico-8/carts |
When you visit this directory you should see your cartridge listed. If you drag it over to your web browser, you’ll see what the image looks like.
You can load your cartridge by double-clicking it or dragging it onto your PICO-8 window. You can also email this file to friend or post it somewhere on the internet. Anyone with the PICO-8 application installed can run your game or play around with it, perhaps even making their own changes and sending you an updated cartridge.
Conclusion
It’s quite an achievement to get this much done so quickly, the tools provided by the PICO-8 make it easy to get straight to game building. Looking at your code, there’s not so much that it’s hard to read, hopefully it’s also pretty clear how things fit together.
Good luck on your next video game! If you are looking for inspiration, type “splore” at the PICO-8 console and check out some of the games people have written. Don’t forget to check back here for more articles, I plan to get a couple more written.

Comments powered by Disqus.