Securing Spring Web Application with OAuth2
Instead of managing accounts yourself, leverage OAuth2 and OpenID Connect
It’s not uncommon to punt on account management when starting a new project and, instead, to add a database table to store accounts. The next step is to fill that table in with some sample data and move on to working on real features.
This might seem like an easy solution but inevitably this ends up becoming a core part of the application. It won’t be long before we find ourselves being asked to implement an administrative section where new accounts can be created and passwords changed. Eventually we’ll be tasked with coding up the ability to validate email address and reset passwords. The work around maintaining these accounts seems to never end!
Lucky for us there is an alternative: make someone else manage these accounts. 😉 At first this might seem like more work but I assure you, it is not. Vendors are lining up to implement all of these annoying features; things like changing passwords and validating email addresses or changing the account name, and from our point-of-view they are doing this for free. People interested in using your application might then register with their (Google, GitHub, Microsoft, etc.) account leaving you free and clear to focus on what your application actually does.
How Does It Work?
To keep things contained and manageable we’re going to use Keycloak instead of forcing you to register with Google or GitHub or whatever. We won’t spend a lot of time on managing Keycloak as that’s kind of out-of-scope but we will be giving you a place to start if you decide to use Keycloak for account management.
Next we’ll setup Spring’s OAuth2 Login support, forcing everyone that visits our application to be logged in. The way this works is that when someone hits our application, Spring will look to see if they are logged into our OAuth2 provider. If they are not, it will forward the browser to the provider so that it can handle logging the person in. Once logged in successfully the OAuth2 provider will then forward the browser back to our application, providing the account information to our application.
Lastly when people logout of our application we’ll clear their session data, we will also let our OAuth2 provider know so that it can invalidate that session for the account. This will keep things neat and tidy, once someone logs out they will need to log into the provider again in order to use our application.
Checkout the GitHub Project
To spare you the hassle of setting up Keycloak and a database server and creating a test account, I’ve done all of that work for you. All you need to do is checkout the project that goes with this article. It has a Docker Compose script and some seed data for Keycloak that will get you started.
Pick a location on your machine and then go ahead and clone the project.
1
git clone https://github.com/cmiles74/minimal-spring-oauth2login
Aside from the demo project you will need the following installed and setup and working on your workstation.
- Docker or Docker Desktop (if you’re on Linux, Docker, otherwise Docker Desktop)
- Java JDK, version 21 or later
- Git for source control management
That’s it! If you’re a Java developer (and you should be if you are interested in this article at all) then you probably have all of this stuff setup and working already. 😉
Bring Up the Supporting Services
Once you have the project checked out you’ll need to copy the default Docker environment variables file over. There’s no need to customize these but once you finish this article you’ll know where they are if you want to change them.
1
cp env-sample .env
With that done you can bring up the Docker stack.
1
docker compose up
This will download the PostgreSQL and Keycloak images, bring up their containers and then (in the case of Keycloak) load in some seed data. This seed data includes the “realm” and a demonstration account. The credentials for that demo account are…
- Account Name:
someone - Account Password:
password
Keycloak will be running on port 8080, you can check it out at the following URL:
The credentials for the Keycloak administrator account on the “master” realm are…
- Account Name:
admin - Account Password:
admin
Put the Pieces Together
Typically in a tutorial like this I’d make you create the files by hand and type in (or copy and paste) their contents. This one is a little different in that I needed to have you clone the repository to get the Docker stack and the sample data. Instead we’ll look over the key files and talk about their contents.
Add Spring Boot Dependencies
The first thing we need to do is add the Spring Boot dependencies that we know we’ll need to the project. If you look at the build.gradle file at the root of the project, you can see a pretty short and stock project. Down in the dependencies section you can see the four that we’ve added.
1
2
3
4
5
6
7
8
9
dependencies {
    implementation 'org.springframework.boot:spring-boot-starter'
    implementation 'org.springframework.boot:spring-boot-starter-web'
    implementation 'org.springframework.boot:spring-boot-starter-thymeleaf'
    implementation 'org.springframework.boot:spring-boot-starter-oauth2-client'
    developmentOnly 'org.springframework.boot:spring-boot-devtools'
    testImplementation 'org.springframework.boot:spring-boot-starter-test'
    testRuntimeOnly 'org.junit.platform:junit-platform-launcher'
}
We need spring-boot-starter because we’re using Spring Boot, the starter-web package let’s us build a web application. We then pull in start-thymeleaf so that we can display some simple pages. Lastly we add spring-boot-start-oauth2-client, this is the package that enables us to communicate with an OAuth2 provider.
Setup our Application Configuration
Our Spring application will need to know what to call itself, what port it should run on and how to communicate with our OAuth2 provider. All of this is configured in the application.yml file in the src/main/resources directory. The interesting bit here is the OAuth2 provider configuration.
1
2
3
4
5
6
7
8
9
10
11
12
13
security:
  oauth2:
    client:
      registration:
        keycloak-client:
          provider: keycloak-provider
          client-id: ${OAUTH2_CLIENT_ID}
          client-secret: ${OAUTH2_CLIENT_SECRET}
          authorization-grant-type: authorization_code
          scope: openid,profile
      provider:
        keycloak-provider:
          issuer-uri: ${OAUTH2_ISSUER_URL}
This configuration points our application at our local Keycloak server but all OAuth2 providers are configured in a similar manner. Take note of the stanza under registration and provider, we are naming our OAuth2 “registration” and provider (“keycloak-client” and “keycloak-provider”, respectively).
Our client identifier and secret are coming from your OAuth2 provider (and then stored in the .env file at the root of the project). The authorization grant type and scope will likely be the same for all providers. Lastly the issuer URI lets our application know where to collect information about the provider; this should be provided to you by your OAuth2 provider.
Configure Spring Security
Next we need to tell Spring Security how we’d like it to secure our application. We’ll have it require security for all pages (except the “goodbye” page) and let it know that we want to use OAuth2 to handle logging people in. This is in the SecurityConfig.java file in the src/main/java/com.nervestaple.demo directory.
1
2
3
4
5
6
7
8
9
10
11
12
13
14
15
16
17
18
19
20
21
22
23
24
25
26
27
28
29
30
31
32
33
34
@Configuration
@EnableWebSecurity
public class SecurityConfig {

    private ClientRegistrationRepository clientRegistrationRepository;

    @Autowired
    public void setClientRegistrationRepository(
        ClientRegistrationRepository clientRegistrationRepository) {
        this.clientRegistrationRepository = clientRegistrationRepository;
    }

    @Bean
    public SecurityFilterChain securityFilterChain(HttpSecurity http) throws Exception {
        http.authorizeHttpRequests(a ->
                        a.requestMatchers("/goodbye").permitAll()
                                .anyRequest().authenticated())
                .oauth2Login(Customizer.withDefaults())
                .logout(l ->
                        l.logoutSuccessHandler(oidcLogoutSuccessHandler())
                                .invalidateHttpSession(true)
                                .clearAuthentication(true));
        return http.build();
    }

    @Bean
    public OidcClientInitiatedLogoutSuccessHandler oidcLogoutSuccessHandler() {
        final OidcClientInitiatedLogoutSuccessHandler successHandler =
                new OidcClientInitiatedLogoutSuccessHandler(clientRegistrationRepository);
        successHandler.setPostLogoutRedirectUri("http://localhost:8085/goodbye");

        return successHandler;
    }
}
When someone logs into our application their information is stored in the client registration repository. We keep it simple here, if you want to learn more about how this works then checkout the Spring documentation.
Next we configure the security for our application with the SecurityFilterChain. This code is not so bad, you can see that we require authorization on all URLs except /goodbye, then we configure Spring’s OAuth2 Login (oauth2login) with default settings. Lastly we configure logout, in addition to clearing the session and authentication data we also invoke our OIDC logout success handler and redirect to the /goodbye URL.
With this configuration, two URLs are added to our application by Spring’s OAuth2 Login component.
- http://localhost:8085/oauth2/authorization/keycloak-client, this endpoint checks to see if the browser is logged into our provider and forwards the browser to the provider for login if they are not
- http://localhost:8085/oauth2/code/keycloak-client, this endpoint handles the response from our OAuth2 provider and forwards the browser back to our application
The last thing of interest is the oidcLogooutSuccessfulHandler, this bit of code is looking up the logged in account in our client registration repository and using that information to contact our OAuth2 provider to log them out of this particular session (the OIDC back-channel logout). If that’s successful then the browser is forwarded to our goodbye page.
Who is Logged In?
The rest of our skeleton web application is in the HomeController.java file in the src/main/java/com.nervestaple.demo directory. Here is were we setup our two endpoints (that serve HTML pages), /home and /goodbye. These are pretty dull and routine, the only interesting bit is in the home method.
1
2
3
4
5
6
7
@GetMapping("/")
    public String home(Model model) {
        var authentication = SecurityContextHolder.getContext().getAuthentication();
        var oidcUser = (OidcUser) authentication.getPrincipal();
        model.addAttribute("accountName", oidcUser.getPreferredUsername());
        return "index";
    }
We are requiring the browser be authenticated with our OAuth2 provider before they can view this page, we can get the security context and authentication data without fear. We then cast this to OidcUser (we only support OIDC authentication in this demo app, a more complex app would need to take more care) and then digout the name of the account that’s logged in so that we can say “hello”.
Building and Starting the Application
Building the application is easy with Gradle.
1
./gradlew build
This is a small application, it should build quickly and without issue. Now you can run the application.
1
java -jar build/libs//demo-0.0.1-SNAPSHOT.jar
Go ahead and visit the application!
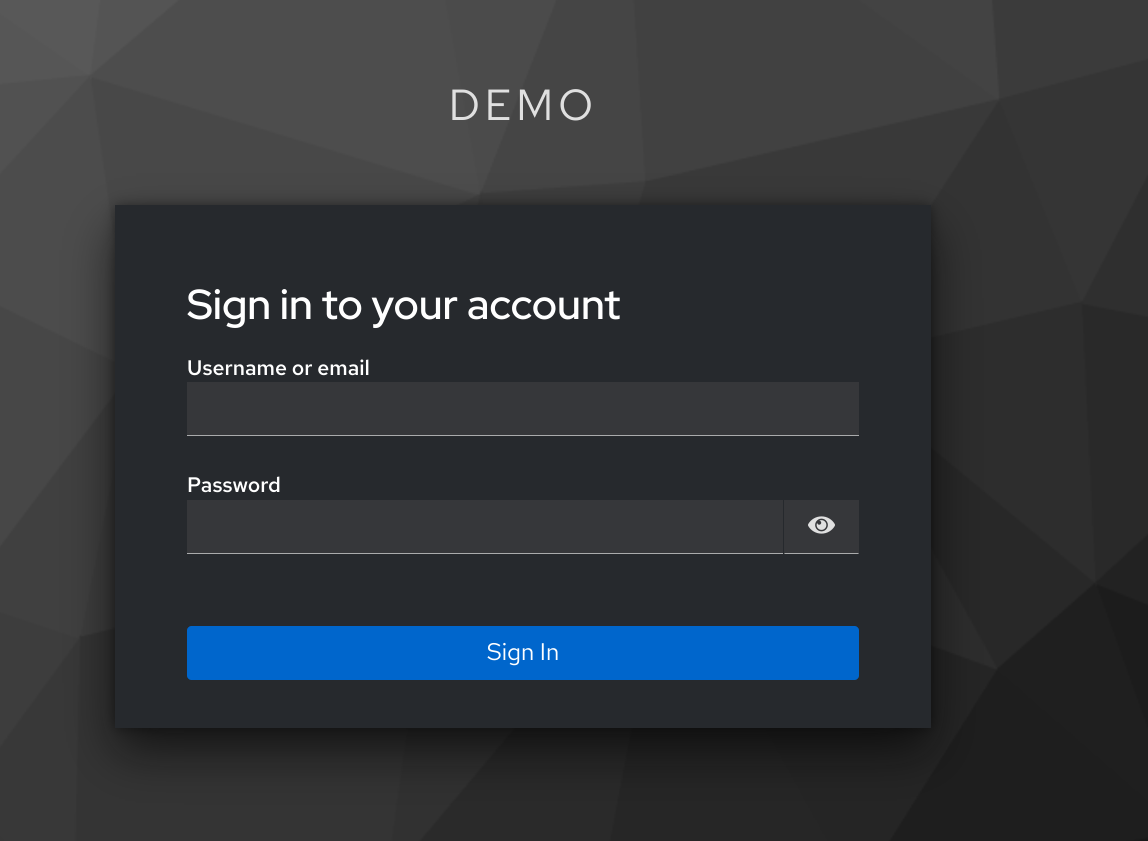
You should be immediately directed to the login page of our OAuth2 provider (Keycloak in this case). Type in the credentials for the demo account…
- Account Name:
someone - Account Password:
password
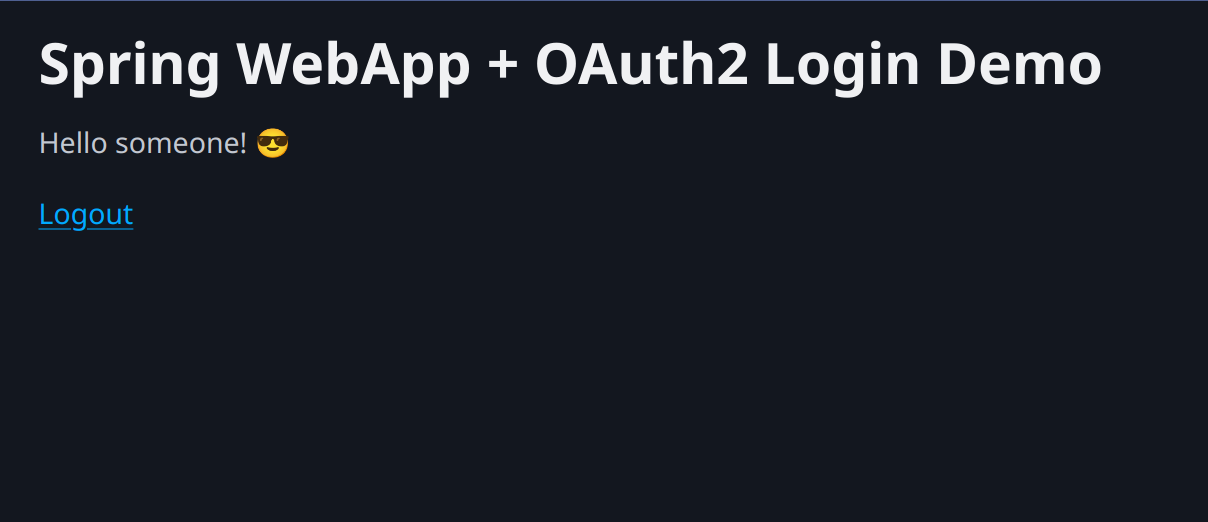
And you should now be directed to our page where the application says “hello” to you.
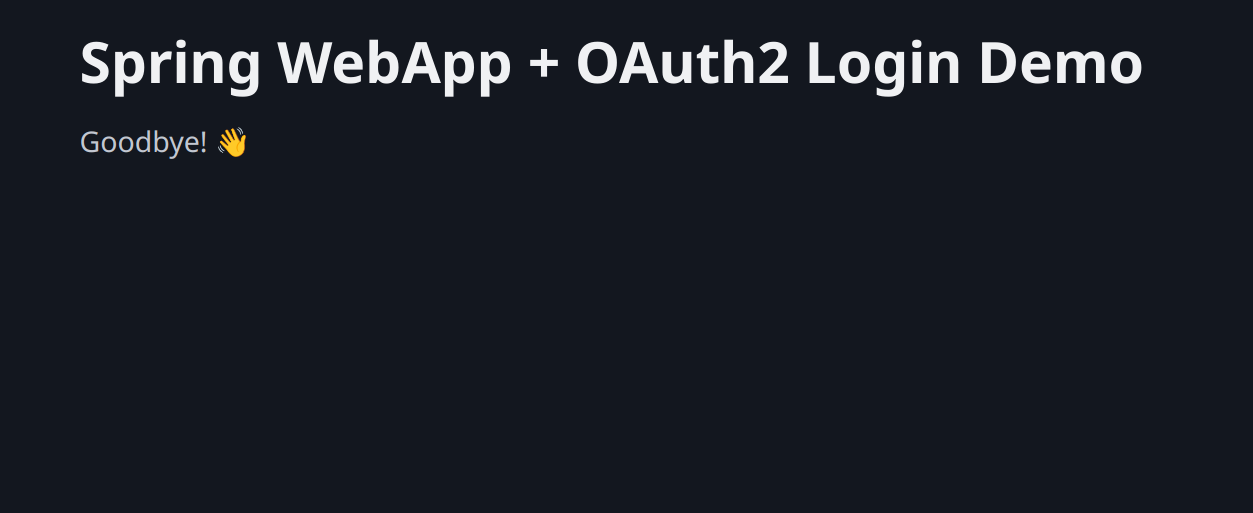
If you click on the logout link your session with the OAuth2 provider will be ended and you’ll be dropped at the goodbye page. If you go back to the application you will need to login once again.
Summing Up
We have very little code but we’ve done quite a lot! We have said goodbye to account management, instead letting our OAuth2 provider handle that for us. We have a functional and reasonably attractive log in and out process, which is also pretty secure to boot.
One thing to note is that we are not depending on the OAuth2 provider to handle things like idle log out. Once the browser comes back from the OAuth2 provider with a valid token we log them into our application, from then on our application takes responsibility for deciding when someone has been idle for long enough that they need to be logged out (this is a function of Spring Security and there are various knobs to adjust this).
In my opinion this is a reasonable way to do things; when your OAuth2 provider provides a token to your application that token is used both to identify the account as well as to access other services provided by the OAuth2 provider. That is, the expiration time on that token is meant to indicate when it’s no longer valid for use with the OAuth2 provider, it’s not saying anything about how your application functions. Likewise the refresh token provided is meant to be used if the expiration time has passed and more requests need to be made of the OAuth2 provider; in practice it’s best to get all communication with the provider out of the way immediately after the login.
I hope you find this tutorial useful! If you have any questions or comments or if you find any errors or mistakes please let me know ASAP. 🙂


Comments powered by Disqus.